
 CenterClick NTP200 and NTP250 Documentation - Reimage
Main
Docs
o Features
o Hardware
o Software
o Getting Started
o Release Notes
o Front Panel Button
o Front Panel LEDs
o USB Console
o Admin CLI
o Using HTTPS
o SSH Authentication
o Client List
o Antenna Issues
o Graphs
o PPS Output
o Reimage
Live Demos
Contact Us
Feedback and Bug Reports
Follow us on LinkedIn
Privacy Policy
Shipping and Tax
Returns and Warranty
How to Reimage
Follow these instructions to reimage your appliance. You may have been told to do this due to corruption or to debug an issue.
This procedure requires physical access to the appliance, a small phillips screwdriver, and a laptop or computer with a microSD card reader.
To obtain a reimage image, please contact us so we can generate an image for you.
Shutdown and Open Appliance
Shutdown and remove all connections from the appliance.
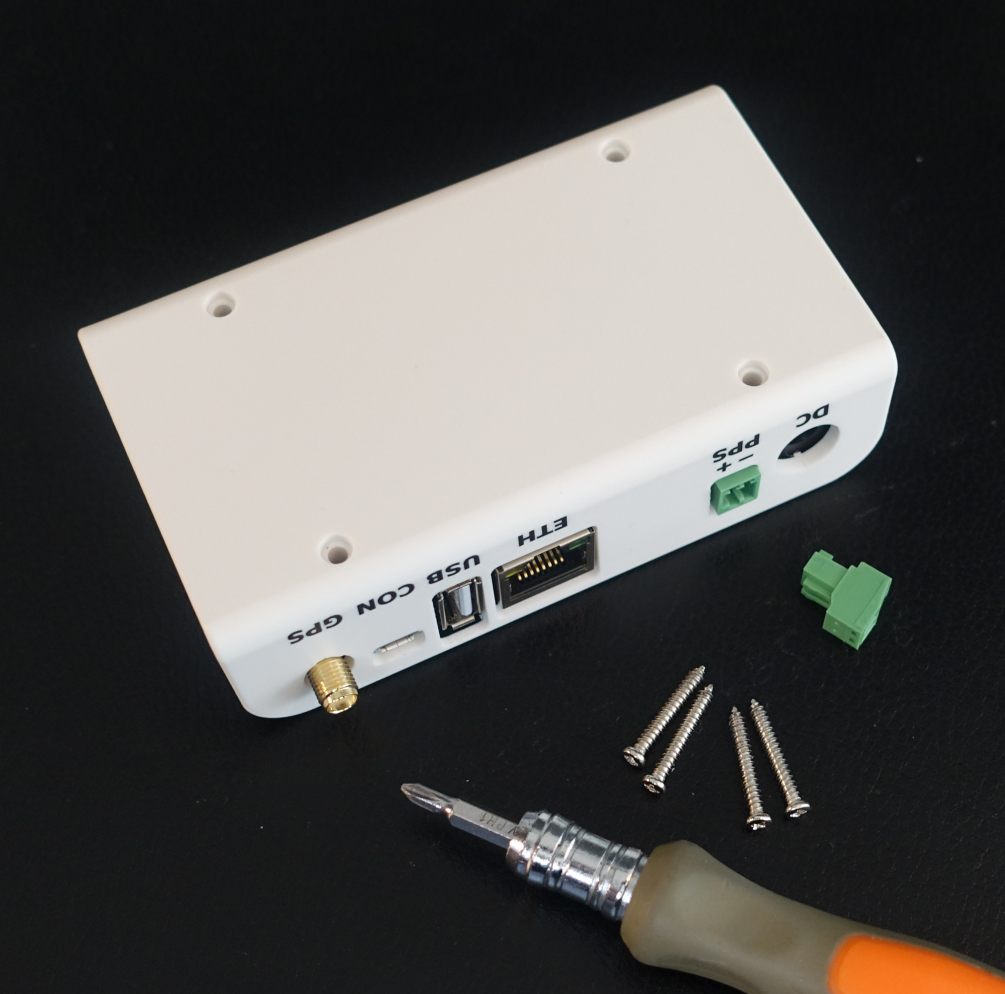
On the bottom, remove all 4 screws and PPS connector if equiped.
Use your fingernail to pry open the front edge (edge with the LEDs and command button).
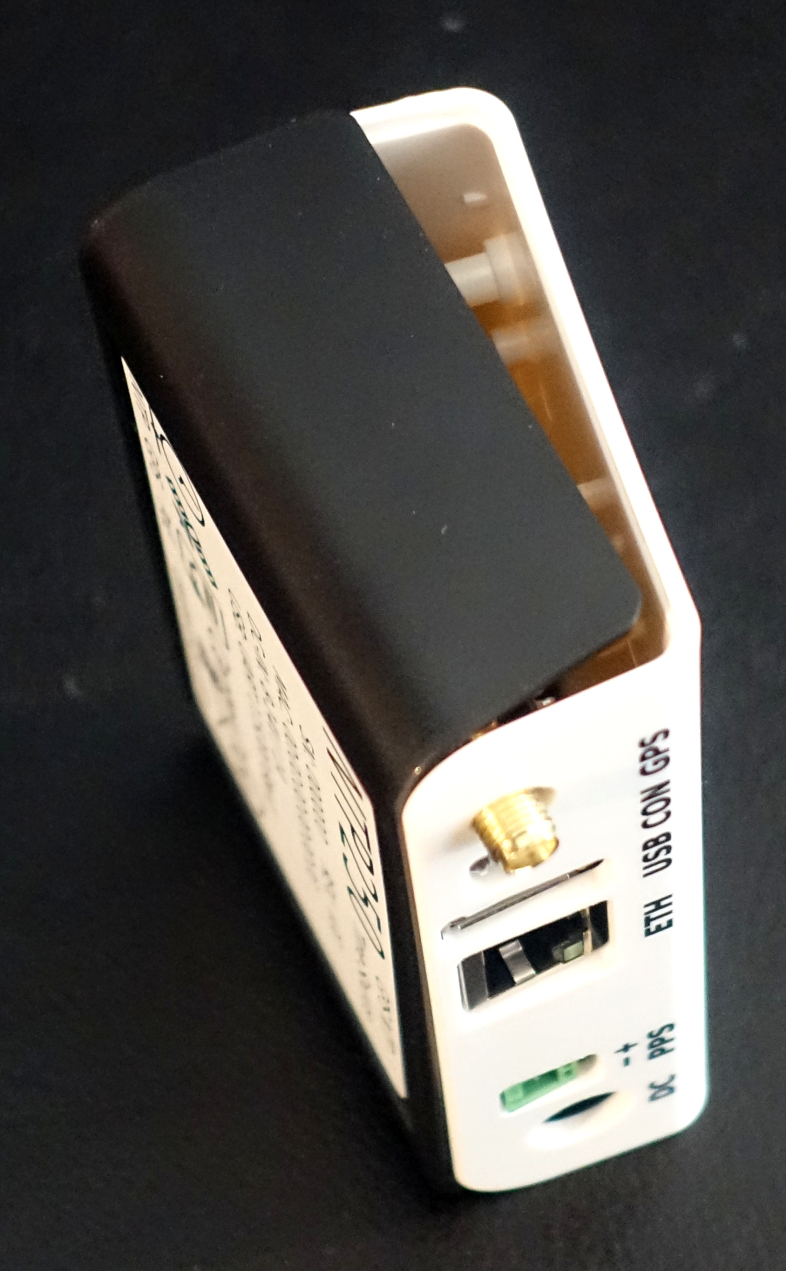
Carefully open the white portion of the case from the front edge first, then once the front is off maneuver the back edge over the antenna connector.
Remove microSD card and reimage
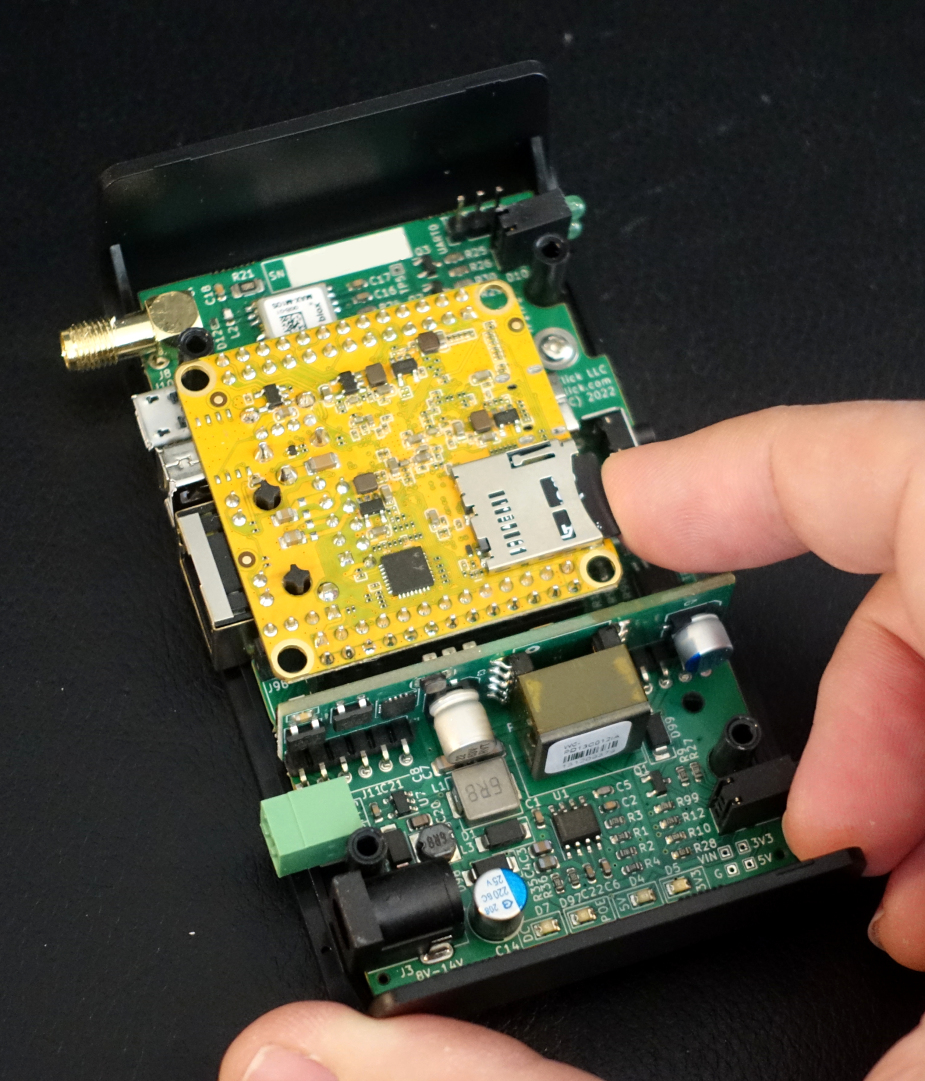
Remove the microSD card by pressing it to eject and place it in your computer.
Linux Users
On a linux system you can use unzip and dd to image the microSD card. Determine which block device is the microSD card, in the examples below sdc is used.
ubuntu:/local# unzip sdcard_2.0.8.zip
Archive:  sdcard_2.0.8.zip
  inflating: sdcard.img
ubuntu:/local# dd if=sdcard.img of=/dev/sdc
323584+0 records in
323584+0 records out
165675008 bytes (166 MB, 158 MiB) copied, 55.6456 s, 3.0 MB/s
ubuntu:/local#
Windows Users
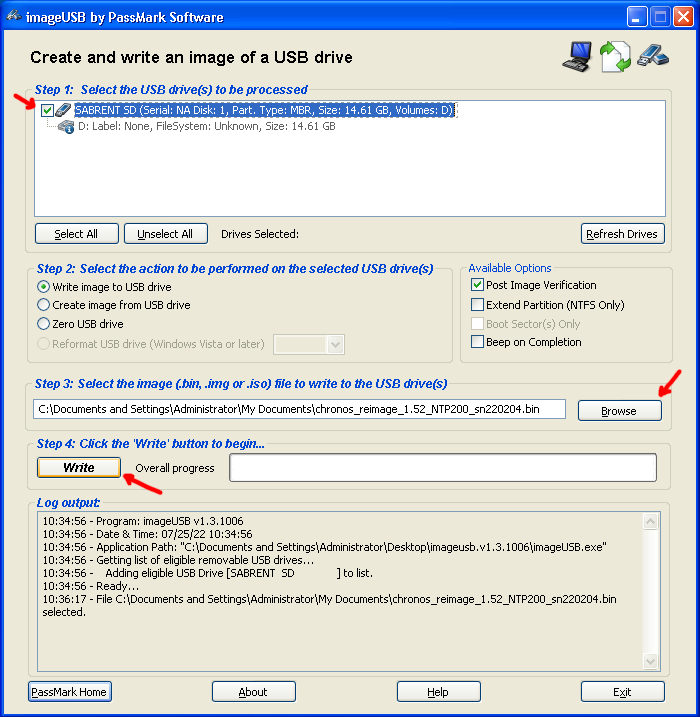
On a windows systems, we recommend using ImageUSB from PassMark.
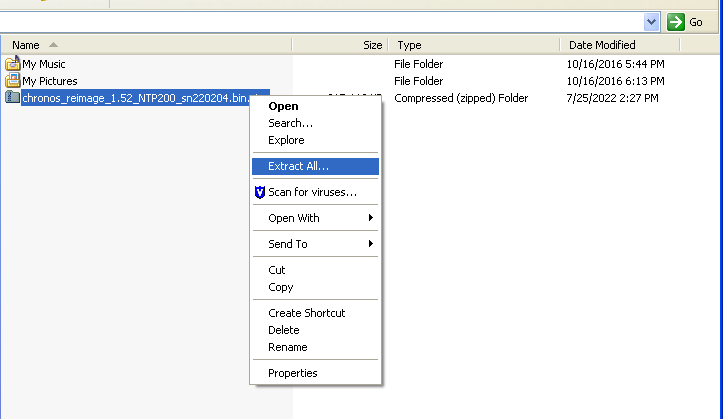
Unzip the compressed reimage image to obtain a .img file. WARNING: Windows defaults to hiding the file .zip extension even when it is still compressed.
Attach your microSD card reader, and open ImageUSB. Select the USB reader, Browse for the .img file, and click Write
Replace microSD card and Close Appliance
Replace the microSD card, it will click into place.
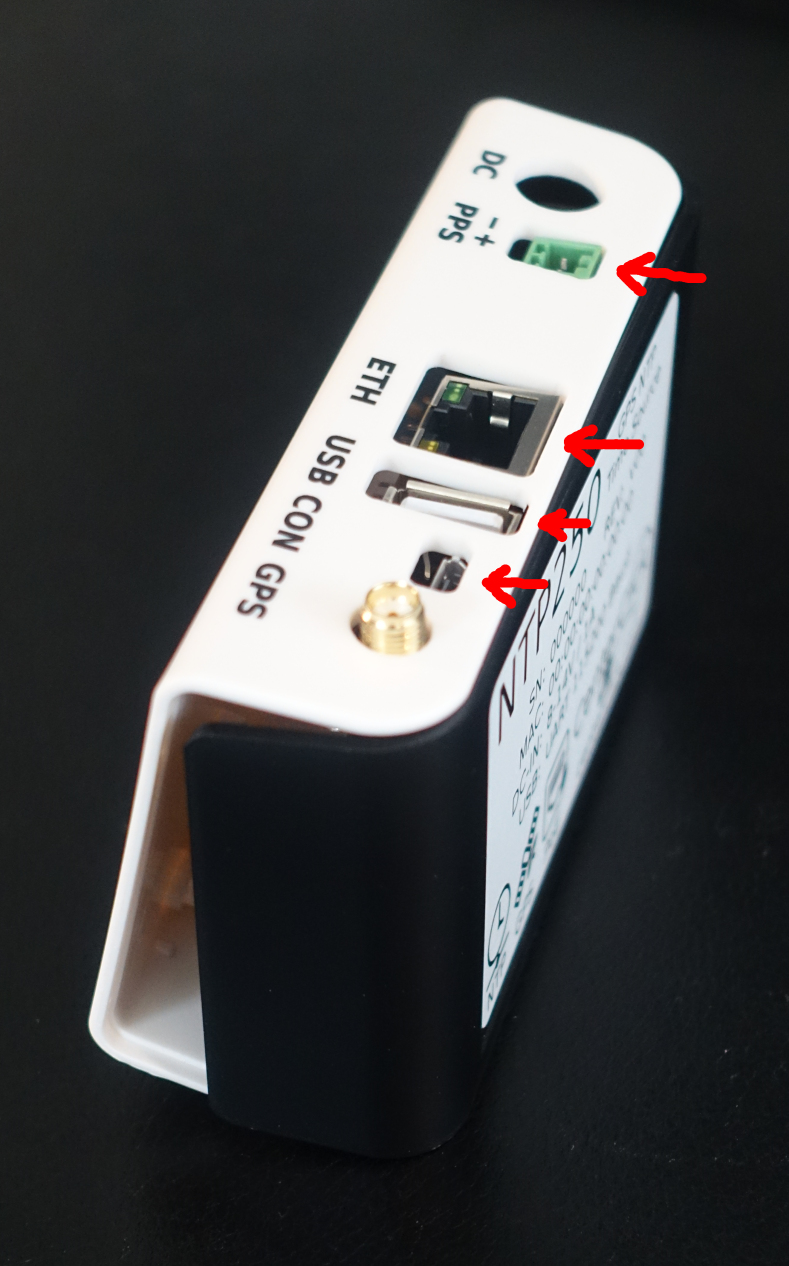
Place the cover over the back connectors. Make sure the USB and Ethernet connectors are not caught on the case openings.
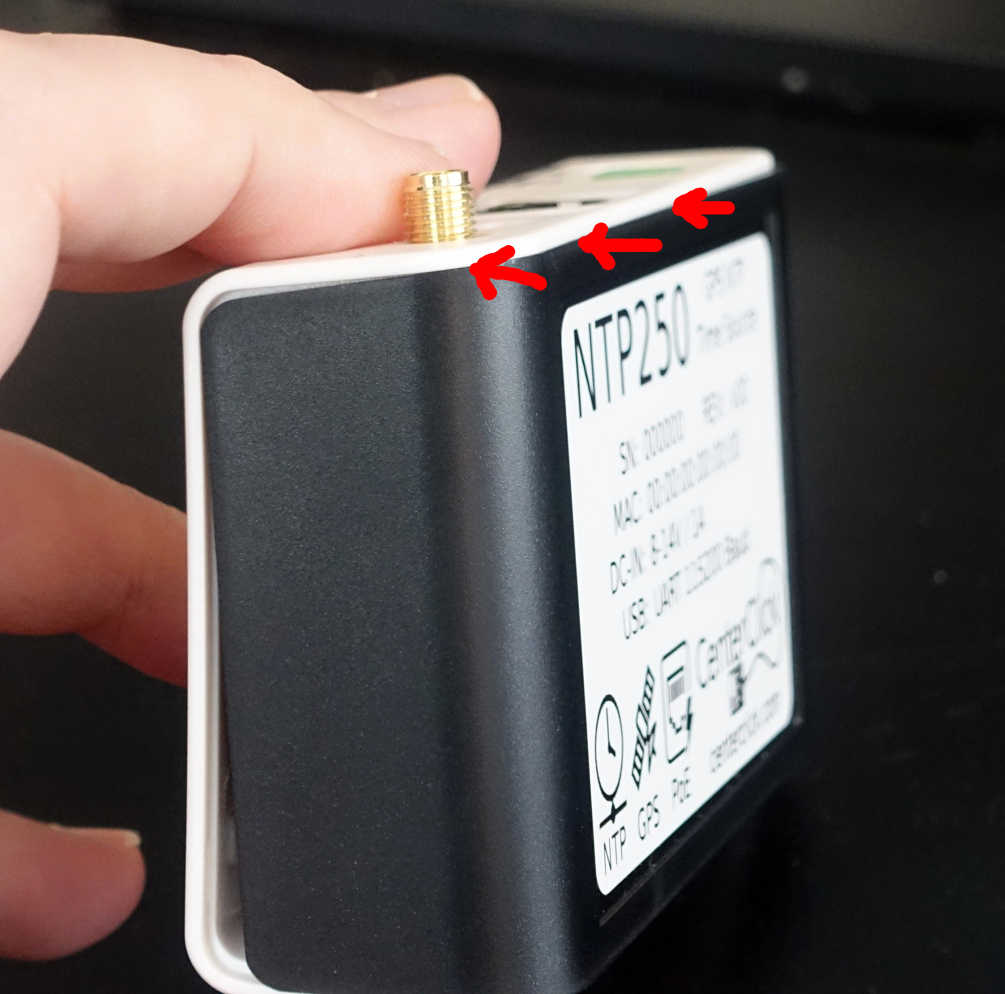
Before closing the case entirely, make sure the back cover is flush and not caught on any connector. Once checked, snap the front closed and make sure it is also flush. Re-insert the screws, do not over-tighten.
Setup
When reimaged, the appliance will reset to defaults automatically. Attach the admin USB console to reconfigure the device.
On the first power-up, the appliance will detect that a reimage has occurred and adjust partitions, reset to defaults, and reboot itself.
  ...Booting
  ...Checking Storage
  ...checking flash: Patriot LX 16GB #1 14910MiB

  ...reimage detected
  ...updating GPT
  ...adding /data filesystem
  ...resetting to defaults
  ...rebooting
Depending on the version of software previously installed and the state of the SD card, you may be presented with a warning that board specific data is missing.
  ...Booting
  ...Checking Storage
  ...checking flash: Patriot LX 16GB #1 14910MiB
Enabling HTTP...

NTP2xx documentation at https://centerclick.com/ntp

*** WARNING: Board-specific data is missing. Please contact support. ***
If so run 'setup' to re-initialize that data for your device. Most people will answer y to 'Has DC' unless you have a custom appliance with the DC-Barrel input depopulated. Answer y or n if your appliance has PoE.
NTP2xx> setup
  Enter SN? 220204
  Has DC? [y/n] y
  Has POE? [y/n] n
setting:
SKU=NTP200
SN=220204
HASDC=true
HASPOE=false
Please reboot to apply settings

NTP200> reboot
Checking for background upgrade...
Rebooting...